How Are Solar Panels Installed
Solar panels are an exciting step toward reducing energy costs and adopting a sustainable lifestyle. Whether you’re looking to save money or reduce your environmental footprint, understanding the installation process is crucial. From setting up scaffolding to connecting inverters and batteries, each step ensures your system operates efficiently.
We will walk you through the installation process, including retrofitting a battery system if you already have panels. Then, you can learn how to optimise your setup, harness the sun’s energy effectively, and get the most out of your investment.
Let’s get started!
How Do You Install Solar Panels Step by Step?
After deciding on the system size and location, you must take several steps to set up your home solar system. For instance, before installation can begin, you must inform your distribution network operator (DNO) of the installation. Visit the Energy Networks Association and enter your postcode to find your DNO. Once they are informed, you can start the installation.
If you already have installed solar panels, also called photovoltaics, you can do a home battery retrofit; in that case, skip ahead to Step 6. Batteries are essential for maximising savings since they store the energy you produce during the day so you can use it at night or during bad weather when your photovoltaics cannot meet your energy needs.
Step 1: Set up Scaffolding
Scaffolding is necessary to provide a safe place for the installers to work. It is typically done a day or two before the installation to ensure plenty of time to move supplies and people safely up and down from the roof.
Step 2: Install Mounts
The first thing that the installers do is to install the mounting system. This involves choosing the proper roof anchors for your style of roof and then screwing them into the rafters for a secure base for the mounting system. You won’t see these anchors after the installation since the photovoltaics will hide them.
Next, the aluminium frame is attached to the anchors and screwed in place, checking to make sure everything is straight and all the bars are parallel. This critical step ensures that the panels sit correctly on the roof so they operate efficiently and look aesthetically pleasing.
Step 3: Solar Panel Installation
Now that the mounts are in place, the photovoltaic panels are clamped onto the aluminium frame. Installers measure them from the roof and look from the ground to ensure the edges are all parallel. This is important since roofs are rarely perfect, so the installer adjusts everything so it looks right.
Step 4: Wiring
Photovoltaic panels can be wired in parallel, where the output current is the sum of all parts, but the voltage remains the same, or in series, where the output current remains the same, but the voltage is the sum of all the parts. Which is best is a technical question that depends on your specific set-up and is best answered by a professional installer with skills in wiring electric circuits using AC and DC currents.
Either way, DC wiring also runs from the panels, is routed under the roof, and is fed inside the home to an inverter or leads to an inverter outside the home.
Step 5: The Inverter
Your inverter can be installed inside or outside your home if it’s waterproof. It's best to install it in a cool location, like in a garage or outdoors on the shady side of the house. The inverter converts the DC energy the photovoltaics produce into the AC electricity that most appliances in your home need to run.
Depending on your system and if the solar inverter is a separate unit or built into your battery storage system, an inverter board may be installed to hold the inverter, a generation meter that measures how much power is generated, and an isolation switch.
If you use the EcoFlow PowerOcean (Single-Phase) storage system, you don’t need any of this since the batteries have a built-in inverter, and you can use an app on your smartphone to monitor how much power you generate.
Once your panels are wired, the DC wires are connected to the solar inverter.
Step 6: The Battery
If your system has a battery, the inverter is now connected to that battery. Batteries are critical components that store excess energy produced during the day so you can use it at night, during bad weather, or during peak electricity hours when grid energy costs the most.
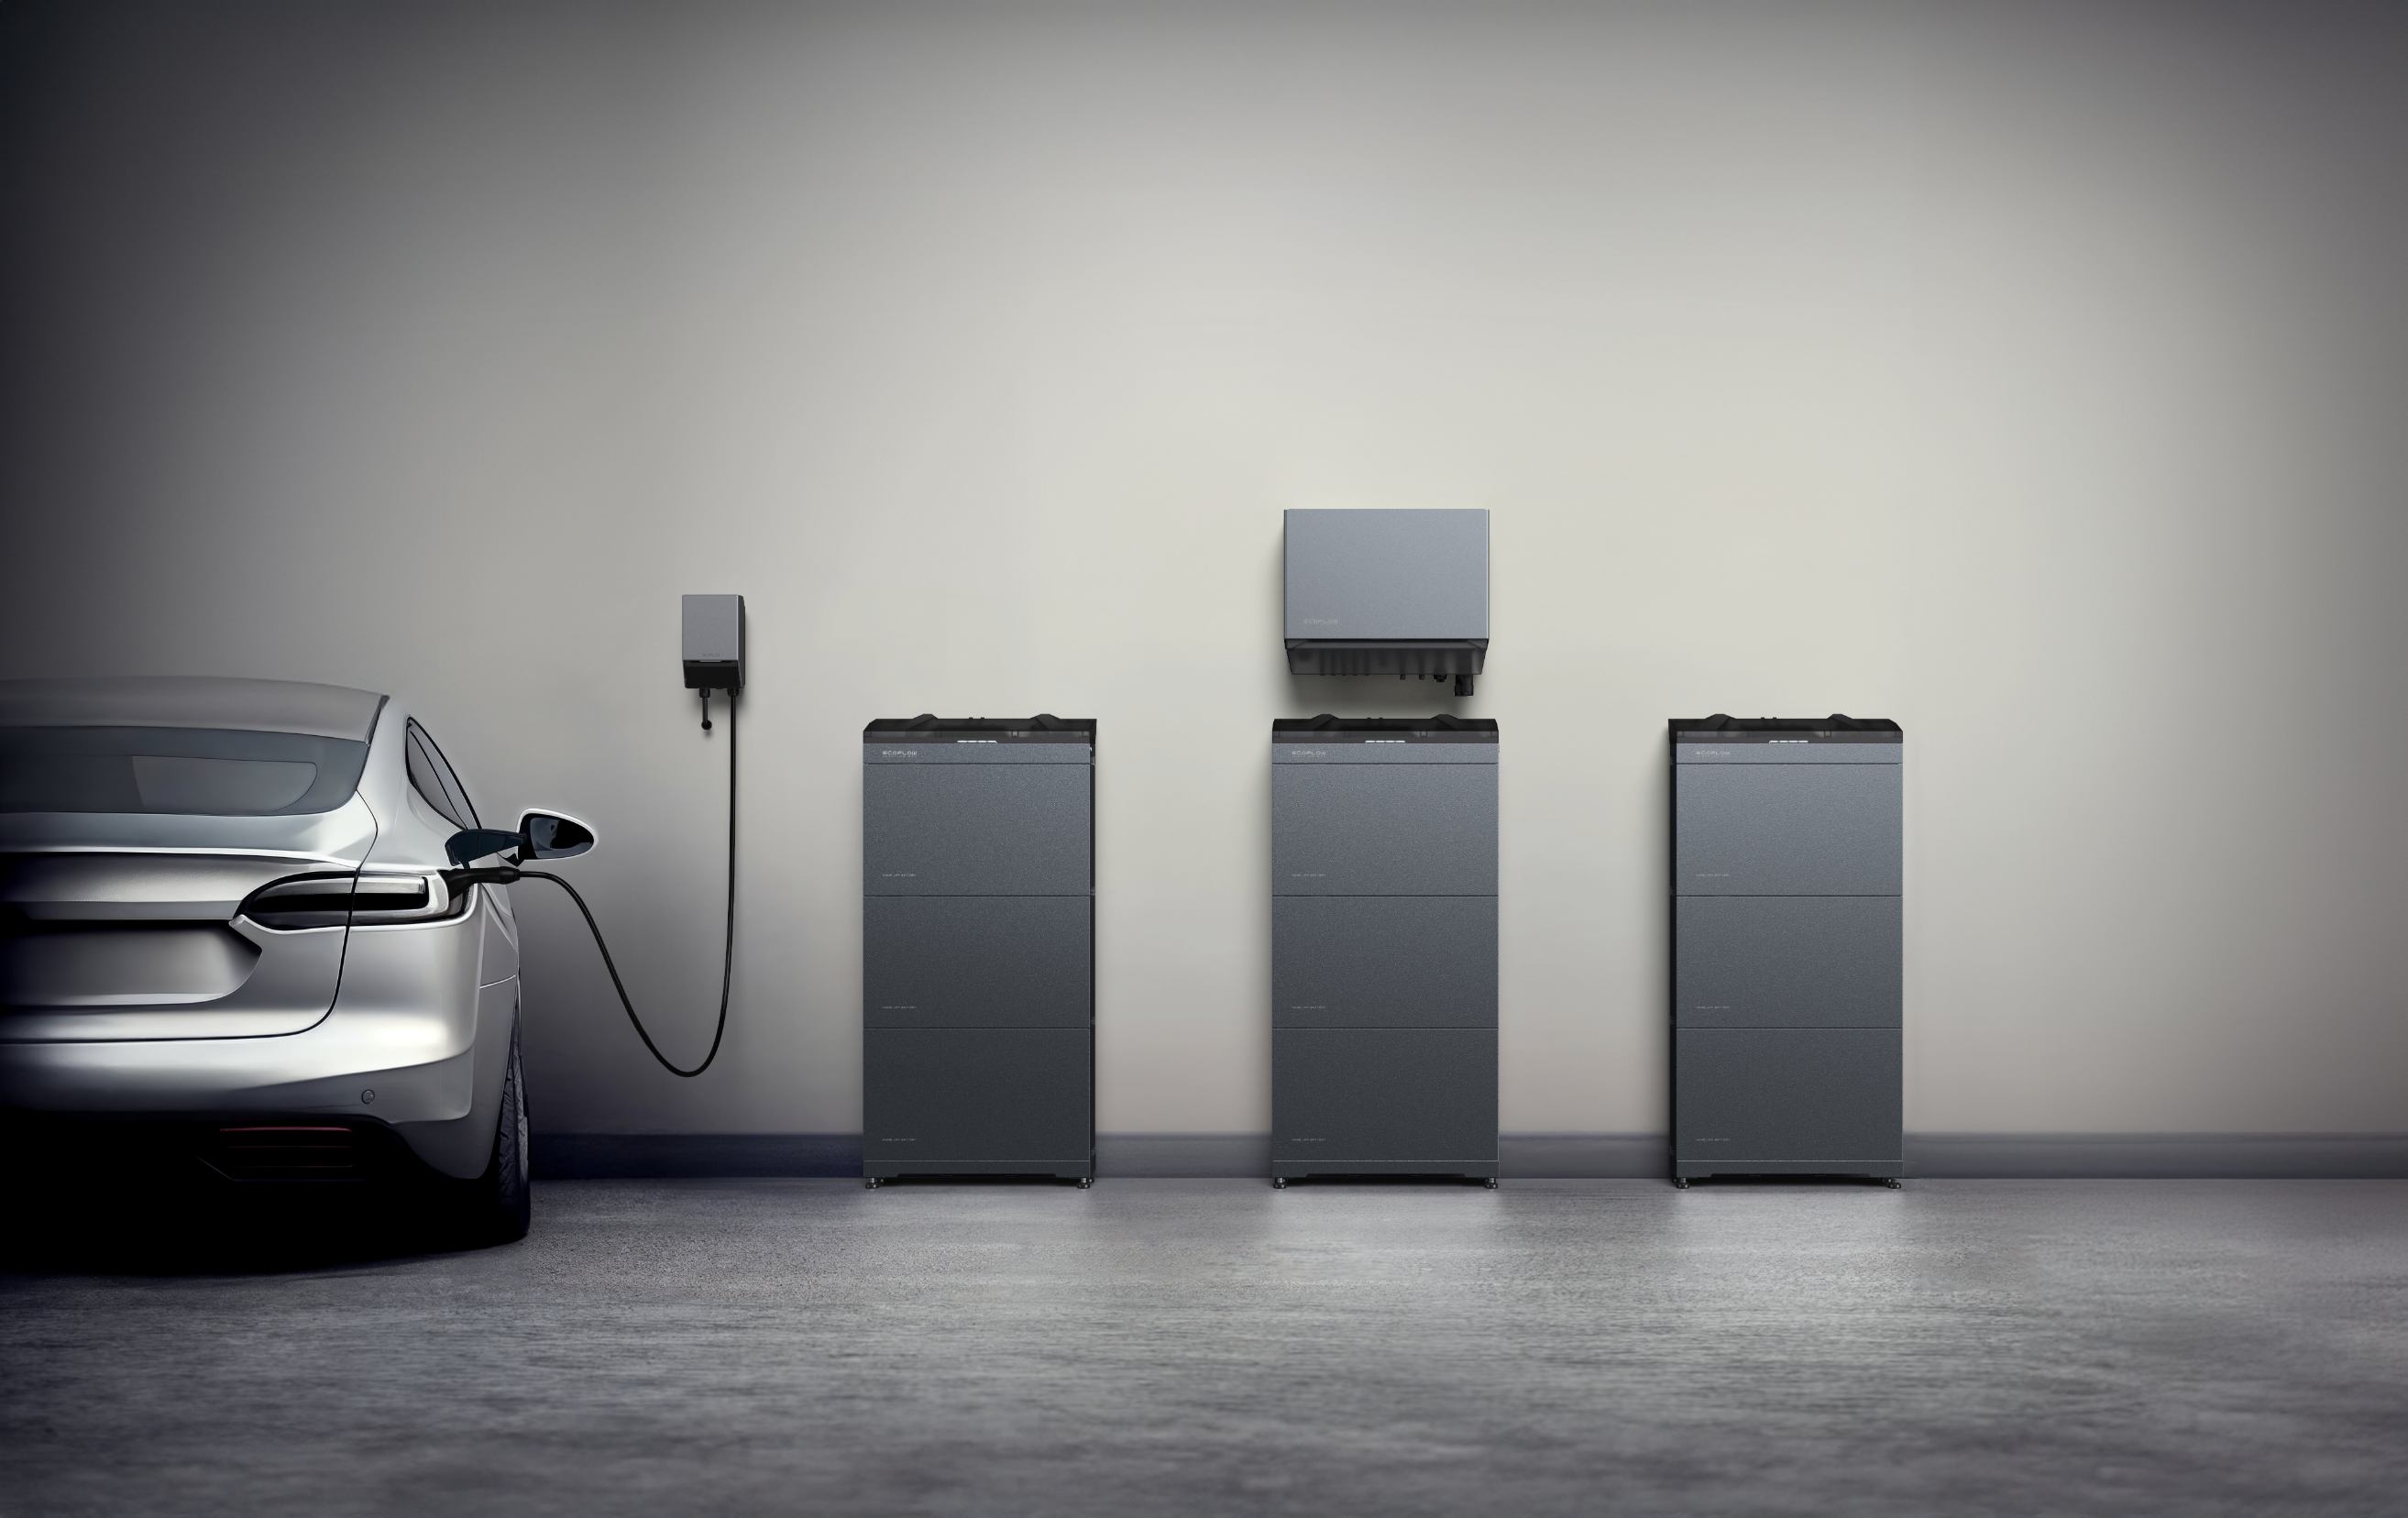
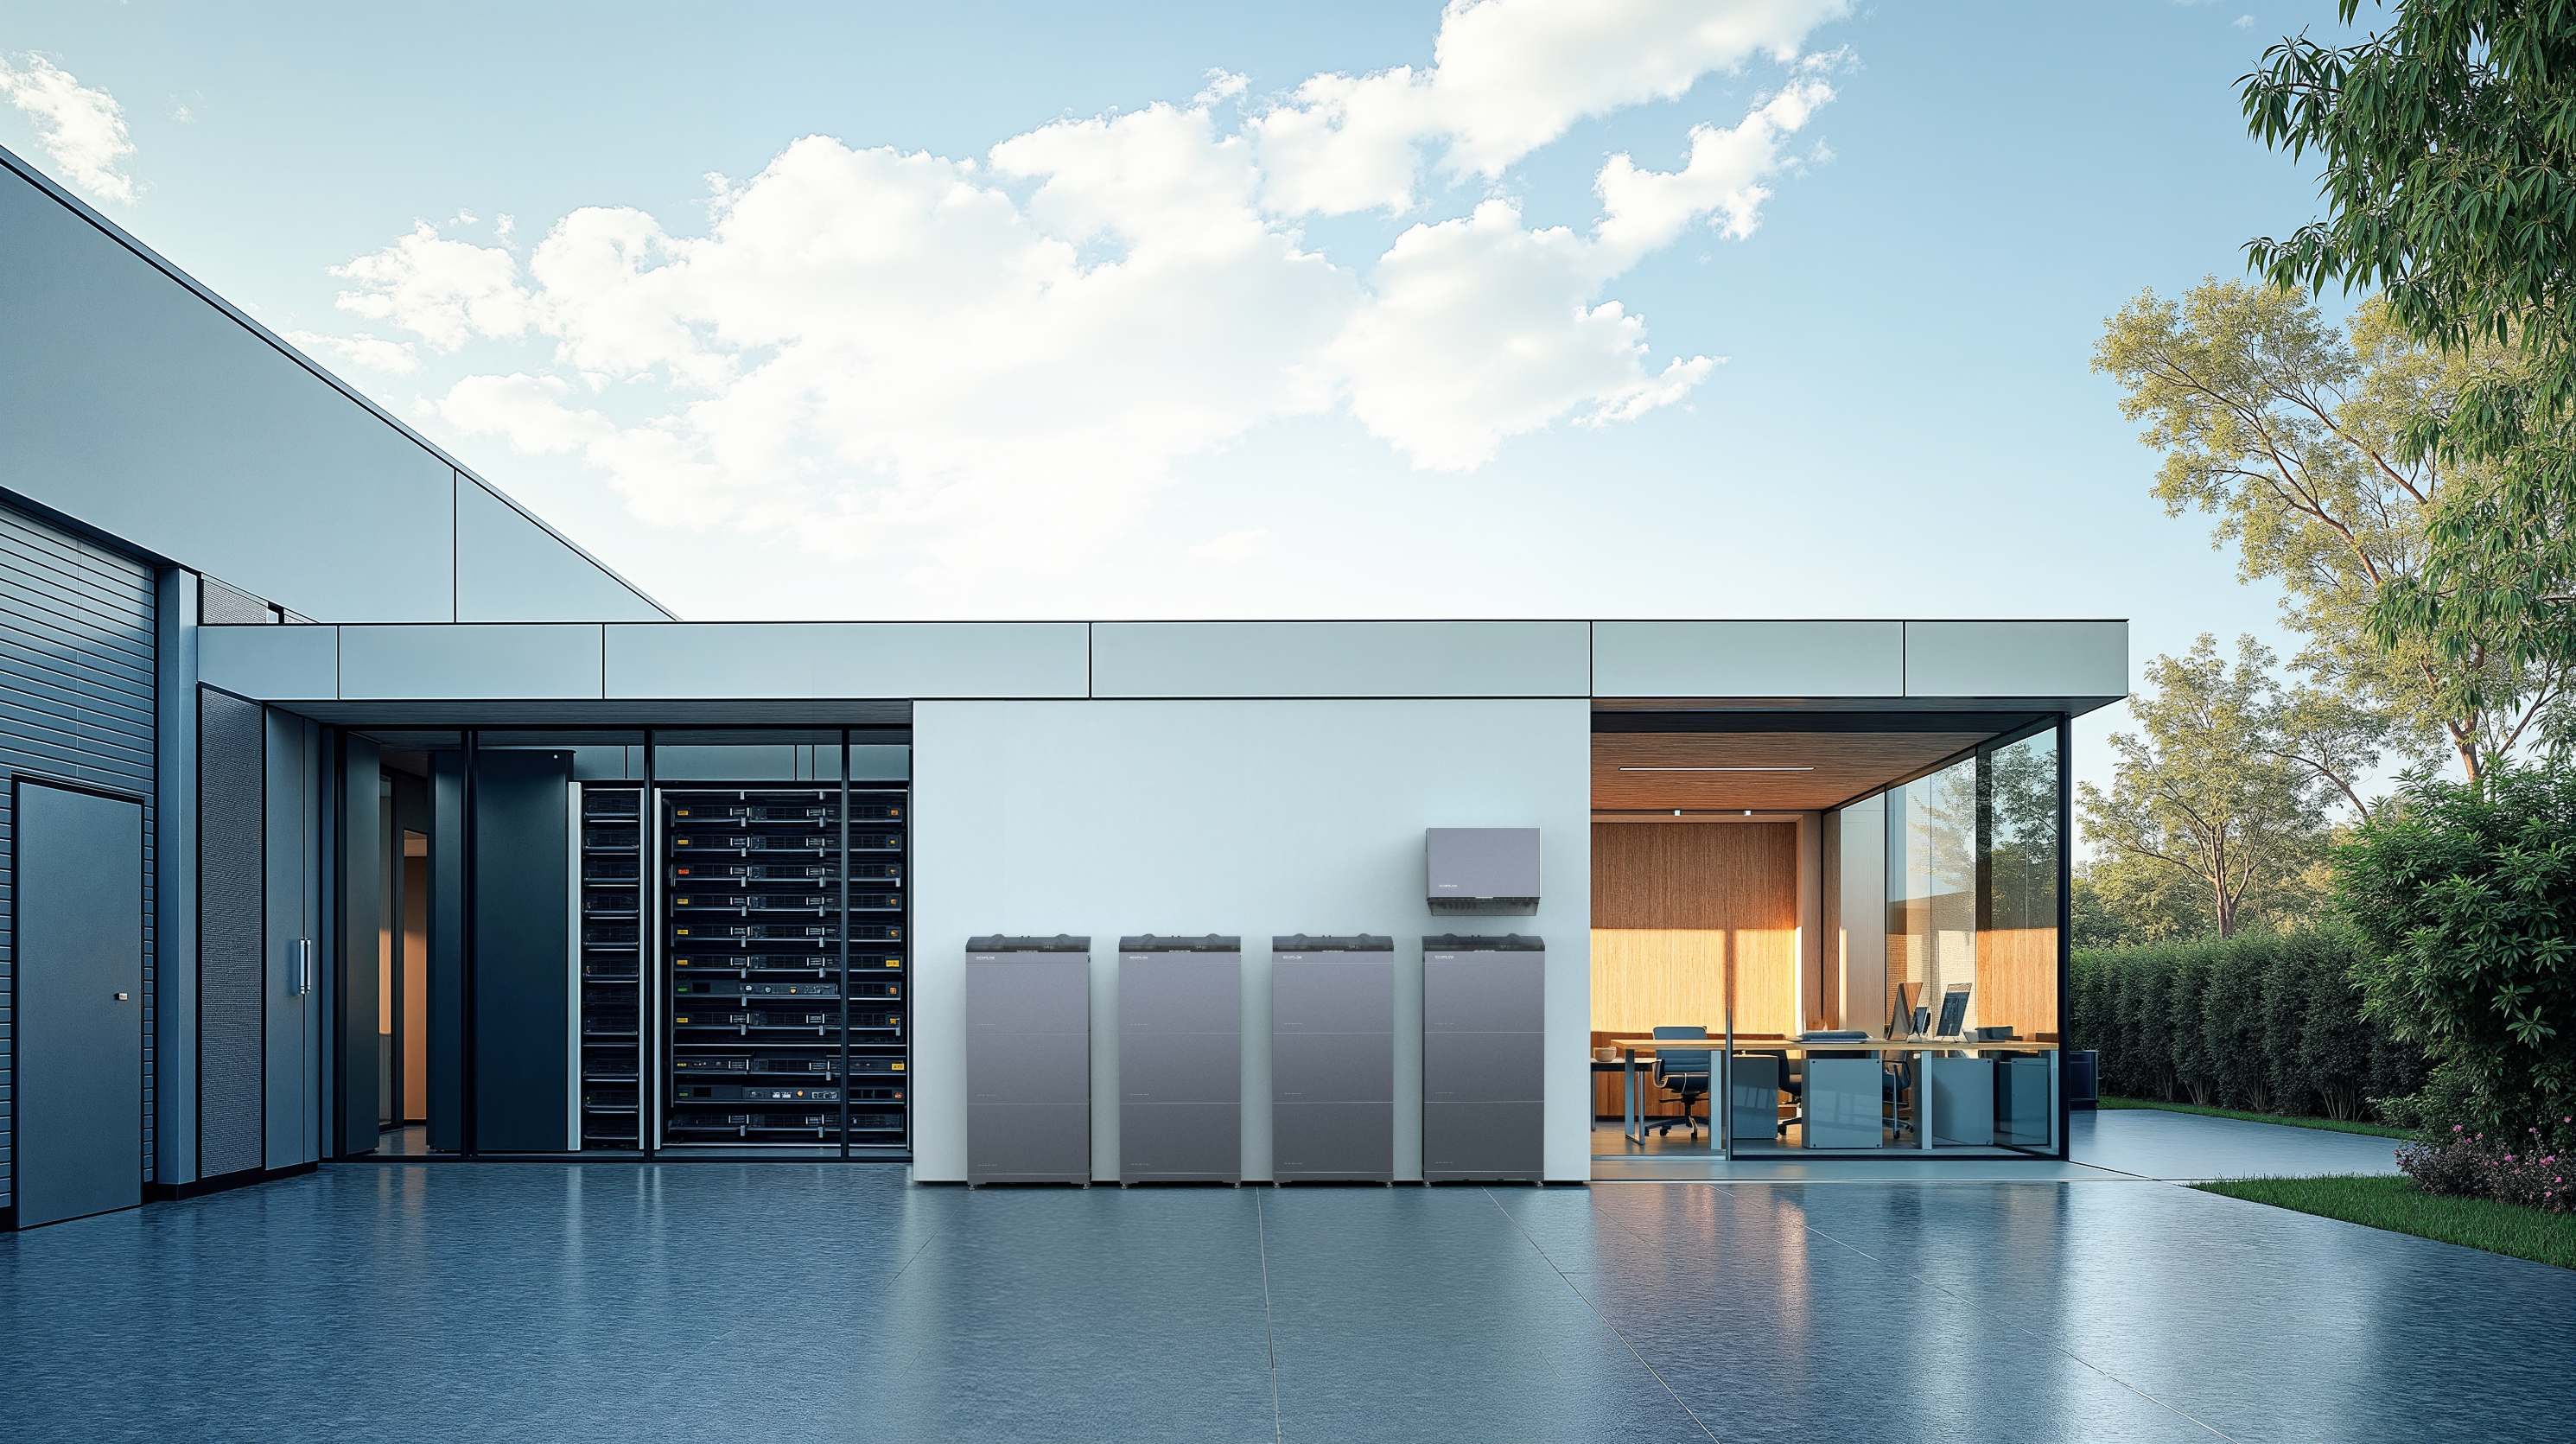
If you want battery storage, doing it all at once makes sense. The EcoFlow PowerOcean (Single-Phase) has a built-in inverter, so purchasing a separate inverter is unnecessary. It also has a battery management system that regulates the charge and discharge of your batteries to ensure optimum performance and longevity.
You can start with a single 5kWh battery and expand it easily by simply stacking another battery onto it, up to an impressive 45kWh capacity. It is also waterproof and can be installed indoors or outdoors.
However, some people opt for just getting the photovoltaics and doing a battery retrofit later. While this used to be more complicated and costly, the new EcoFlow PowerOcean DC Fit makes it super easy. It directly connects the batteries to your current photovoltaic array without installing an additional storage inverter or replacing the current inverter.
This saves time on installation and boosts the efficiency of your existing system.
Step 7: Connect the Inverter to Your Home
The next step is connecting the inverter to your home's electrical panel. This step is best left to a licensed electrician to ensure everything is done safely and correctly.
Step 8: Turning it on and Testing
Finally, you switch on the inverter or your EcoFlow PowerOcean and start generating power. You will want to test your system, so check your output on your EcoFlow App. Then, sit back and watch the energy savings build up right before your eyes.

How Long Will Solar Panel Installation Take?
Installation time for a photovoltaic array varies with the size of the system, your roof, and the complexity of the installation. Generally speaking, it takes about two days from start to finish. About half of that time is simply setting up the scaffolding, and the installer installs the panels on that second day.
Is It Possible to Install Solar Panels Yourself?
While you can install panels yourself, it is only advisable if you are a skilled electrician and feel comfortable on a roof. Also, trained professionals will know exactly how to attach the mounts and panels to ensure maximum stability, efficiency, and aesthetic appeal.
If you want to save some money, you can buy the components yourself, but it’s a good idea to communicate with your installer so that you purchase the correct components.
Frequently Asked Questions
- How Are Solar Panels Installed in the UK?First, scaffolding is set up for installers to access the roof. Then, roof anchors and mounting frames are attached, panels are clamped to the frames, and wiring is run from the panels to your inverter inside or outside your home. Finally, the inverter is connected to your household electrical.
- How Are Solar Panels Connected to the House?First, they are mechanically installed via roof anchors and mounting frames that hold the panels in place. Next is the electrical connection, where the panels are wired together. A DC wire then runs to the inverter, which converts it into AC electricity. The inverter is then wired to your household electricity.

Final Thoughts
Installing photovoltaic panels is a straightforward process when handled by professionals, ensuring your system operates efficiently and safely. Each step, from scaffolding to connecting inverters, and optional batteries like the EcoFlow PowerOcean, is designed to maximise energy production and cost savings.
Whether installing a new system or upgrading with a battery retrofit with the EcoFlow PowerOcean DC Fit, solar technology offers significant benefits for your home and wallet. Now, get ready to take your first step toward energy independence to power your home sustainably and efficiently.


